Tracktion Waveform comes in a Free edition and a Pro edition, and both host VST3 plugins, plus Audio Units on a Mac. Either one can run a visualizer plugin on the master track and record a clip from it. Waveform also has a video window for writing music against a film you import. This guide covers the video window first, then the plugin, with the steps to install, record, and automate it.
The built-in route: the video window
Waveform Free and Pro can import a video file, from the Video menu in the transport bar or by dragging it onto the Edit. The video window floats above your Edit and shows the frame under the playhead, so you can write music or sound effects against a cut. Rendering your mix back onto that footage takes Waveform Pro or the Pro Video Expansion, and the file is always a .mov. It is the right tool when someone hands you a film to score. It needs footage to start with.
The plugin route: a VST3 visualizer on the master track
A visualizer plugin goes where your limiter would, with every look already built. You pick a scene and a palette, and it reacts to the track from the first beat. Waveform Free hosts third-party plugins, so a free DAW and one plugin are a complete music video setup.
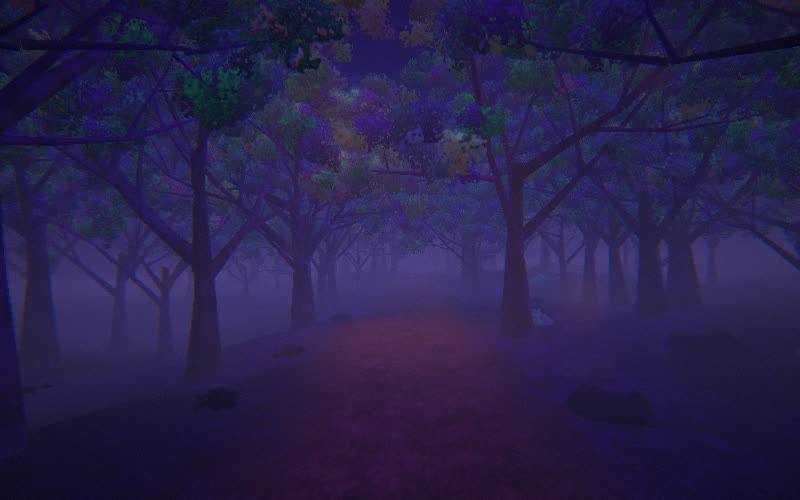
This is the route Photism takes. It is a VST3 and Audio Unit effect that passes your audio through untouched, and the plugin window is the visualizer. Twenty-four scenes, from marbled ink to architectural geometry to a live reaction-diffusion figure, each react to kicks, bass weight, and energy in real time.
Install and scan
- Install the plugin. On a Mac, run the Photism installer. It
puts the VST3 and the Audio Unit where Waveform looks. On Windows,
close Waveform, extract the zip, and copy the whole
Photism.vst3folder intoC:\Program Files\Common Files\VST3, with the Contents folder still inside it. - Scan it in Waveform. Waveform notices new plugins at launch and offers to scan for them. If it does not, open the Settings tab, choose Plugins, click Scan for Plugins…, and pick Scan for new or updated VST3 plug-ins. On a Mac, run the AudioUnit scan too.
- Add it to your favourites. Click Show Favourites List and drag Photism into it. Favourites sit at the top of the selector when you add a plugin.
Load it on the master track
- Find the master plugins area. It sits in the transport bar along the bottom of the window, and on the master track or the mixer’s master channel if your edition shows one. Empty, it reads Drop Master Plugins Here.
- Right-click that area, choose Add new plugin, and pick Photism. On a Mac it is listed once per format, and either works.
- The plugin window opens, and it is the visualizer. Press play in Waveform and the picture starts moving with the song. Click Photism in the master area to open the window again later.
On the master track, Photism hears the whole mix. Drag it into a single track’s mixer section instead and it follows only that part, a drum track for example. Every Waveform mixer channel is stereo, so any track will take it.
Pick a look
Every control has a button in the row along the corner of the window, so you can drive the whole thing with the mouse:
- tab · scenes opens the scene grid. Click any scene to jump to it.
- p · opens the palette card. Every color set is on one card.
- x · shuffle picks a fresh scene and palette in one click.
- g · tune opens the tuning panel, with the macros, the lens, and your saved presets.
The keyboard shortcuts work too. Waveform uses your typing keyboard as a MIDI input by default, so in the plugin they take shift: shift+g for the panel, shift+r to record, shift+o for the output. If Waveform catches a shortcut first, the corner buttons do the same job. Drop an album cover onto the window and Photism builds a five-color palette from it, so the visuals match the release.
Record the video
- Choose the frame with the a · button: 16:9 for YouTube, 9:16 for Reels and TikTok, 1:1 for a square post.
- Press RTZ in the transport to put the playhead at the start.
- Click r · rec in the window, or press shift+r, then press play in Waveform.
- When the song ends, click the record button again. The button steps through finishing, adding sound, and saving, then names the folder.
The MP4 saves to your Downloads folder with the song already in it, taken from the track Photism sits on. You skip the audio export and the step of lining the song up in an editor. Clips record at each platform’s upload size, and the recording settings in the tuning panel go up to 4K.
Keep the plugin window open until the button says saved. Covering it with other windows is fine, and closing it ends the take.
Change scenes on the drop
Photism’s scene, palette, mode, preset slot, and main controls are ordinary plugin parameters. Waveform automates a master plugin from a regular track, so the curve lives there:
- Pick any track, or add an empty one to hold the automation. Drag its A icon onto Photism in the master area and choose Scene.
- Double-click the automation line to add a point on each side of the drop. Hold Cmd on a Mac or Ctrl on Windows and drag the segment between them to draw a step.
- Keep Automation Read on in the transport. Every playback switches the scene on that beat.
The same works for Palette at the bridge, Spin or Mirror as a slow build, or Preset Slot to swap the entire look on a section.
Getting it on a second screen
Click o · output, or press shift+o, to open a separate output window. Drag it to your second display or projector and make it fullscreen. It shows the visuals alone, with no buttons. To stream it, turn on Syphon (Mac) or Spout (Windows, beta) in that window’s top bar and pick the Photism source in OBS, Resolume, or TouchDesigner. On a Mac, the first Syphon use asks for Screen Recording access. Allow Waveform, since the plugin runs inside it. The Syphon and Spout guide covers the receiving side.
Which route to pick
| You want | Best route |
|---|---|
| Music written against a film you were handed | The video window |
| Your new mix laid onto existing footage | The video window, in Waveform Pro |
| Visuals made from the song, moving the moment you press play | A visualizer plugin |
| A video for Reels or TikTok from Waveform Free | A visualizer plugin |
Both run inside your Edit, so trying either costs nothing but a plugin slot. You can feel Photism’s engine before installing anything at photism.app/online, which runs three scenes free in your browser from a dropped track or your mic.