Ableton Live has no built-in visualizer. It will play a video clip in the Arrangement view for scoring work, and that is the end of its native video story. Every audio-reactive visual you have seen behind a Live set comes from added software. There are three ways to set that up, and they sit at very different points on the effort scale.
Route 1: a Max for Live device that renders the visuals
Max for Live devices sit in your device chain like any instrument or effect, so this is the only route where the visuals live inside your project. The device hears the track it sits on, renders to its own window, and saves with your set. Setup is drag and drop.
This is the route Photism takes. One device on the master bus, one button to open the render window, and the visuals react to whatever the track hears. The same engine also ships as a VST3 and AU plugin, which is how this route works on Live Intro and Lite, where Max for Live is unavailable. Scene, palette, and intensity are ordinary device parameters, so a scene change on the drop is a breakpoint in your automation lane, drawn once and identical every night.
The tradeoff is scope. A device gives you the looks its engine ships with. If you need to composite camera feeds, run custom shaders, or mix video clips live, you have outgrown this route.
Other devices in this family: EboSuite (video playback and compositing inside Live) and Vsynth (a modular video synth built on Max/Jitter, deep and correspondingly fiddly).
Route 2: a VJ app synced to Live
Resolume, TouchDesigner, Synesthesia, Magic Music Visuals, and VDMX all run as separate programs that listen to Live. This is the professional VJ stack: clip mixing, camera inputs, projection mapping, custom GLSL, LED walls. The ceiling is as high as you want to climb.
The cost is plumbing. The app needs Live’s audio, which means a virtual audio device (BlackHole or Loopback on macOS, VB-Cable on Windows) or a spare hardware output looped back in. Tempo sync comes from Ableton Link, which most of these apps speak natively. Parameter control needs MIDI mapping or OSC. Budget an afternoon for the first working rig and expect to own a small pile of routing config forever.
Pick this route when visuals are a performance instrument of their own, especially if a dedicated person runs them.
Route 3: browser and desktop visualizers
Generic music visualizers (browser toys, media player plugins, milkdrop descendants) take audio from a microphone or a file and need no setup at all. They are fine for checking a vibe. They know nothing about your set, cannot be automated, and mic input adds room noise and latency, so they rarely survive contact with a real gig or stream.
Which route to pick
| You are | Best route |
|---|---|
| A producer who wants visuals for streams, clips, and small shows | Max for Live device |
| A live act with a dedicated visuals person | VJ app synced to Live |
| Curious for ten minutes | Browser visualizer |
The honest summary: route 2 scales furthest, route 1 gets you to a show-ready look in minutes and keeps everything in your project file, route 3 is a toy.
What setup looks like on route 1
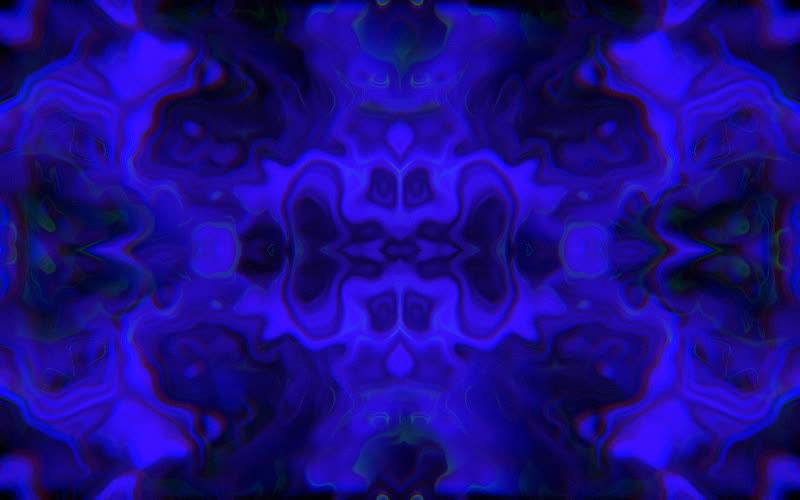
Photism’s install is representative of the device route. Drag
Photism.amxd onto the master bus. Click OPEN VISUALS and a browser
window opens with the render. Keys 1 through 9 and 0 switch scenes, p
cycles the color palette, f goes fullscreen on whatever display the
window sits on. Drop your album art onto the window and the engine
extracts a five-color palette from it, so the visuals match the
release. Sixteen assignable macros (scene, palette, reaction
intensity, exposure, and the rest) are automatable from the
arrangement. To feel the engine before installing anything,
photism.app/online runs three scenes free in your browser
from a dropped track or your mic.
That is the whole pitch for the device route: the time between deciding you want visuals and having visuals is about one minute.
The VST3 and Audio Unit run in other DAWs too. The guides for FL Studio, Logic Pro, Cubase, and Bitwig Studio cover each setup, and the learn page lists the rest.